Sexton Blake Bibliography: 1945
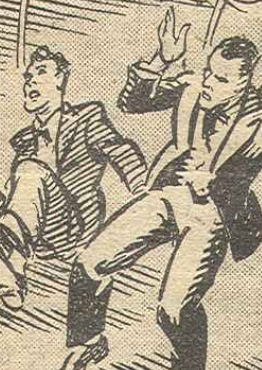
Notes: Blake pursues Luke Rankin through the tunnel but is knocked flying when explosives, planted by the crooks, explode, blocking the route. The detective works out that the tunnel must emerge in the Wangonilla Valley on the other side of the mountain. He thinks the crooks will raid the Bellamy sheep station there for horses, so Blake and his party set off to intercept him. They ride hard and arrive in time to find Black Pete and his gang attacking the station. As they engage with the enemy, Luke Rankin breaks away. Sexton Blake chases after him.
Rating: ★★★☆☆
Notes: As the natives lead their captives — Sexton Blake, Tinker and Hoo Sung — towards their village, Blake saves one of them from a poisonous snake. At the settlement, the saved man pleads for their lives but the chief is not sympathetic. His son is ill and dying and he believes that this is due to 'devils' brought by the white men. Blake discovers that the boy is suffering from appendicitis. He offers to 'cut the devil out'. If the patient is up and walking in a week, Blake and his friends will go free ... but the boy dies, so will the captives!
Rating: ★★★☆☆
Notes: The Rolling Sphere has been captured by the brigands and Hoo Sung and Bert Smithers are prisoners inside the stockade. Sexton Blake and Tinker make a daring attempt to rescue them, climbing over the stockade while the fire distracts Kyoto's men. They liberate the two prisoners and, when they see that the sphere has been left unguarded, they make a dash for it. Guards start shooting. Blake holds them off while the others get the machine started.
Rating: ★★★★☆
Notes: Sexton Blake and Hoo Sung drive the Rolling Sphere over the cliff, crashing down onto the submarine. Kyoto's men escape from the stricken craft, swim ashore, and start climbing a path to the cliff top — only to find Blake's allies, the natives, waiting at the top. With the enemy rounded up, Blake, Tinker and Hoo Sung return to headquarters, where Hoo Sung receives a message.
Rating: ★★★☆☆
Notes: Sexton Blake and Tinker manage to get inside the
fortress of Kwang Chu but are discovered and imprisoned in a small round room with nothing in it except a television screen. On this, they witness Hoo Sung and Bert Smithers being captured. Blake picks the lock and he and Tinker escape.
Rating: ★★★★☆
Notes: Sexton Blake and Tinker surprise Kwang Chu, the emperor of the world, in his secret lair inside the head of the great idol. They tie him up, unmask him, and recognise him as Erick Von Gleiser, an ex-Nazi S.S. general on the Allied list of war criminals. There still remains, however, the issue of escape, which becomes more problematical when the enemy reveals that Hoo Sung and Bert Smithers have been captured.
Rating: ★★★★☆
Notes: Digging their way out of a dungeon, Sexton Blake and his friends come upon an ancient tunnel which brings them out on the mountain side. After instructing Hoo Sung to go fetch the Rolling Sphere, Blake heads back to confront Kwang Chu and beards him in his lair.
Rating: ★★★★☆
Notes: Sexton Blake re-enters the fortress and overpowers
Kwang Chu but he is seen by one of the armed priests and the man shouts for help. The detective knocks him out but hears a large party approaching. Locking the door, Blake quickly searches through documents and discovers that Kwang Chu was intending to re-start the Nazi movement. He then puts on Kwang Chu's mask and costume, opens the door, and orders his followers to escort him to the control room inside the head of the idol. There, however, his imposture is detected.
Rating: ★★★★☆
Notes: Ku Ling climbs out onto the idol's chin and attacks Sexton Blake, sending them both falling towards the ground fifty feet below. Hoo Sung deploys a net from the Rolling Sphere into which the two men plunge. They climb aboard the sphere and Blake orders Hoo Sung to destroy the idol to prove to the priests that it's a fake. This done, Blake then realises that he must recapture Kwang Chu.
Rating: ★★★☆☆
Notes: Pursuing Dr. X down the River Thames in a police launch, Sexton Blake and Tinker strike a mine thrown by the villain. A police boat pulls them from the water and continues the chase until they see their quarry's boat moored to a wharf. Heading toward a door, they stop when a rat runs ahead of them and sets off a booby trap. After the fire caused by the resultant explosion has been quelled, Blake discovers a scribbled telephone number.
Rating: ★★★★☆
Notes: Dr. X makes a desperate bid for liberty when Sexton Blake corners him in the loft of a suburban house. They crash through the roof into the bedroom below. The crook flees, setting off another of his booby traps. An explosion throws the detective into the air and knocks him unconscious. Dr. X carries Blake's limp form away with him. Tinker and Detective-Inspector Coutts arrive at the wrecked house and spot the fleeing villain. He makes for an aerodrome and flies away. Blake recovers his senses and finds himself a prisoner, bound hand and foot. Dr. X flies out over the see then dives the plane directly toward it.
Rating: ★★★★☆
Notes: Captured by his enemies, Sexton Blake signals with a silver cigarette-case to let Tinker know that the innocent looking ship is really the floating
head-quarters of Dr. X. Upon receiving the message, Detective-Inspector Coutts sends a summons to the RAF and Navy. This is overheard by Dr. X, who has his ship shoot at Tinker's plane. However, it is already out of range. Meanwhile, Blake sets the fuse on one of the doctor's mines and threatens to explode it. The villain, seeing the danger, makes his escape.
Rating: ★★★★☆
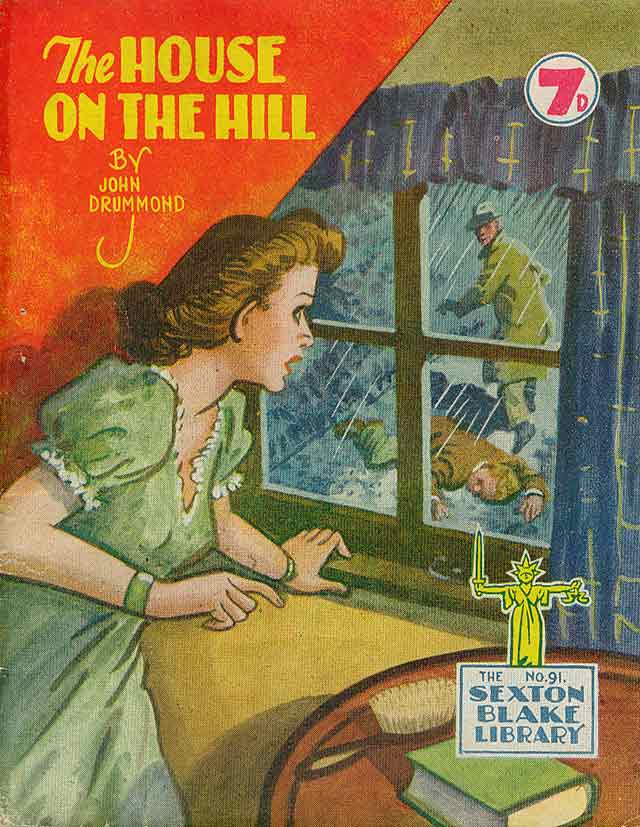
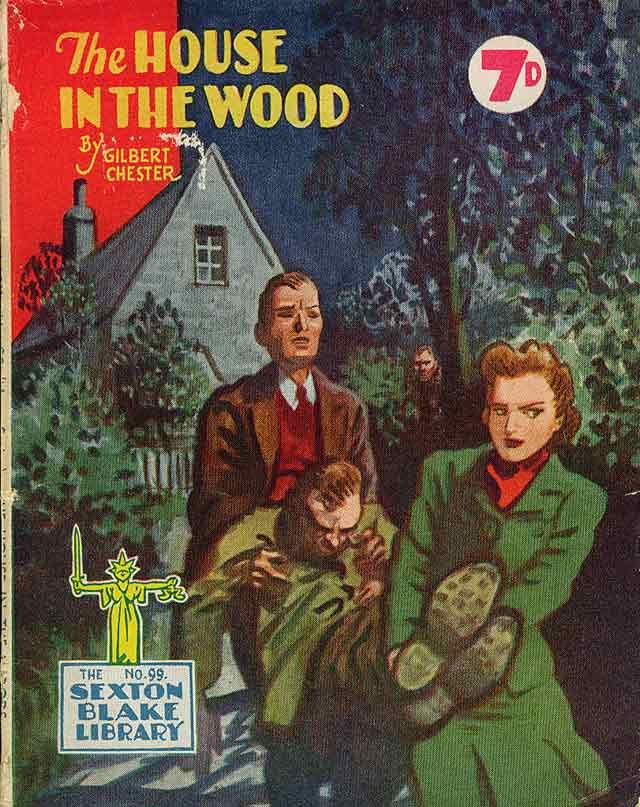
Notes: Jane Wray is alone in the cottage that she and her mother rent when she is visited by her landlord, Clive Ansell, who has recently inherited the local mill and the land surrounding it. He tells her that she must marry him or he will see to it that his employee, Jim Drake — who lodges in the cottage and to whom Jane is engaged — will lose his job. Later, the girl tells Drake about this encounter and, during a storm, he departs in a ferocious temper. When he later returns, he seems confused and says he unsuccessfully searched for Ansell. Over the next few days, he becomes morose and secretive. One evening, Jane sees him in the cellar standing over a freshly dug grave in which Ansell’s corpse is lying. When Ansell's butler and housekeeper, Vernon and Mrs Marion, report their employer missing, Inspector Grimes and Sergeant Sale make enquiries that lead them to the cottage. Drake, hidden in the nearby woods, watches as they discover the body. He flees, makes his way to London, and tells Sexton Blake that he'd found the corpse in the cellar but couldn't remember whether he'd committed the murder. Tinker investigate's the death of Ansell's father and discovers that the man's will left everything to his son but, should anything happen to Clive, the next of kin would inherit, this being a cousin, Arnold Grant, who went to South America fifteen years ago and is, according to evidence, still there. Blake dons a disguise and travels to the Ansell property — the Grange — leaving Drake in the care of Tinker. He spends a day examining the various clues before, on the next, attending the inquest into Ansell's death, which is held at the Grange. While Mrs Marion is giving her evidence, she is shot dead apparently by a hunter's stray bullet. Blake realises that Clive Ansell thought he had murdered his own father and had been convinced by the real killer that Jane had seen something that would convict him. He'd demanded that she marry him in order to prevent her from giving evidence against him. The actual murderer is Arnold Grant, who having long ago returned from South America, took on a different identity and is now manipulating everyone around him. Blake gathers all the suspects at the Grange. He explains why and how the murders of Ansell, his father, and Mrs Marion were committed. While the detective is giving this account, Vernon alerts him to a note that's been slipped under the door. Blake reads it and from it learns that Tinker is being held captive. The lights go out and someone runs from the room. Blake gives chase and corners the villain in the chamber where Tinker has been bound to a chair. The identity of the killer — the man who is really Arnold Grant — is exposed. He tries to shoot Blake but Drake has followed and shoots first. Wounded, the killer commits suicide by drinking from a poisoned flask.
Rating: ★★★★★ A very entertaining "whodunnit."
Notes: None at present.
Unrated
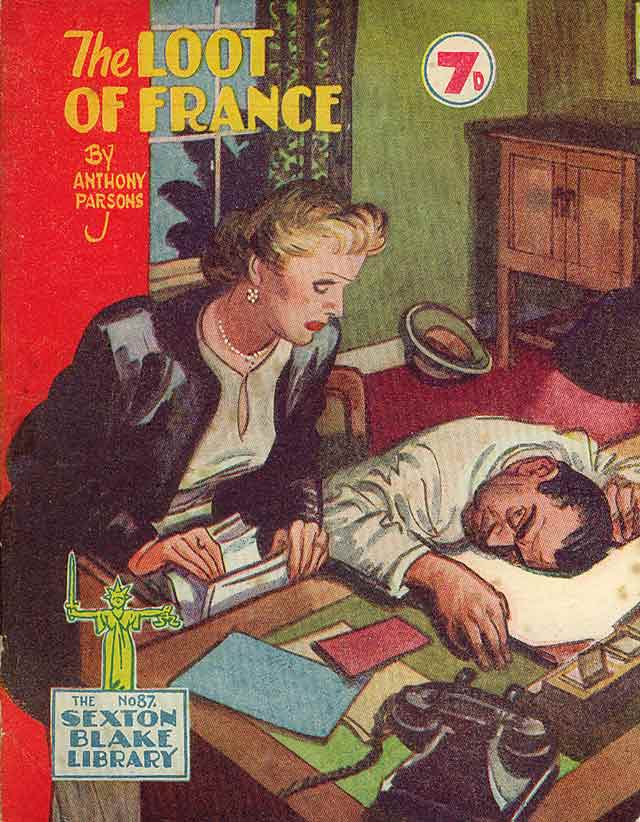
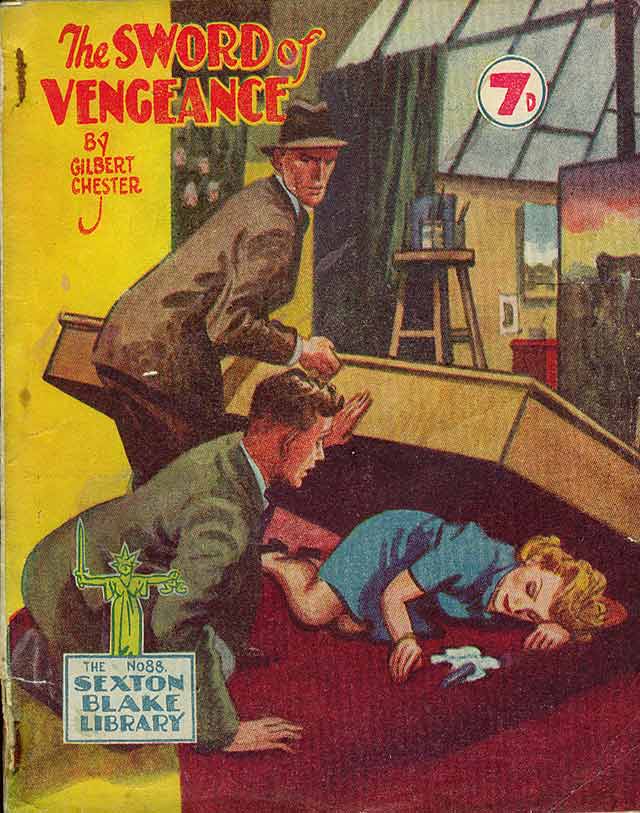
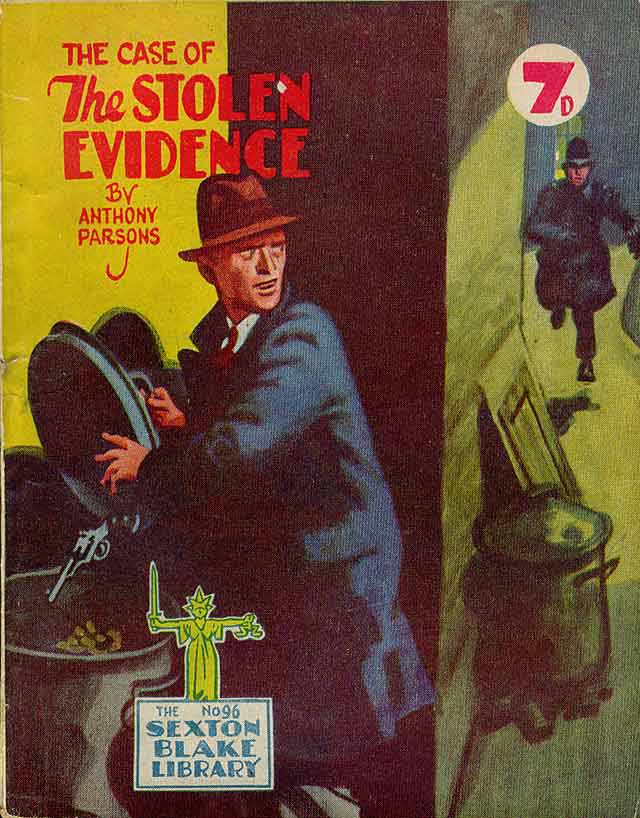
Notes: John Borden is on trial for the murder of a man in a small art gallery but his case is adjourned for a week after the evidence against him is destroyed — the car carrying it to court from Scotland Yard burst into flames. Unless it can be proved that this was an act of sabotage, Borden will go free. Superintendent Hall suspects a Canadian soldier named Matt Carren who, along with a girl named Helen Felton and the murder victim, Harry Winter, had been a legatee to a stranger's will. This man, Nathan Stoel, left them a letter which, it later turns out, details the secret of a certain painting he owns; Borden had stolen that letter from the solicitor's safe. When the solicitor commits suicide, Hall discovers that Sexton Blake is also investigating the case at Carren and Felton's request. Hall soon finds himself with Superintendent Venner trailing behind the detective as they hunt for the mysterious painting. Stoel's former partner, Jacques Dubal, is also after it and manages to get hold of it only to have it snatched away by Tinker. Blake photographs the picture, which is just as well, because when Hall and Venner are transporting it to Scotland Yard, it's stolen from them. With no evidence against him, Borden is released only to be gunned down by Dubal. With his dying breath, he tells Blake the secret of the painting, leading to a final confrontation in the war-shattered landscape of France ... ...
Rating: ★★★★☆ A gripping and tautly-plotted thriller. The narrative follows Superintendent Hall rather than Sexton Blake — and when the Baker Street detective first appears about a third of the way into the story, he does so in fine style.
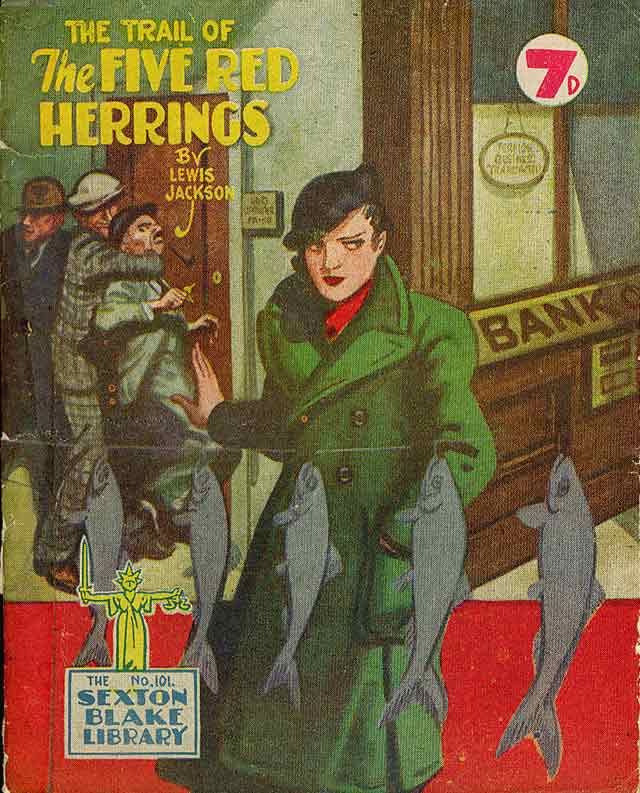
Notes: A publisher asks Sexton Blake to read a manuscript by an amateur author named Walter Peakall. It is an unpublished crime story that tells of a series of robberies committed under the cover of red herrings. The first is a bank robbery — the safe being blown at the same time that a gas main is detonated. While the police and public are occupied with the burning gas pipe, the criminals escape with the loot from the bank. The second is the robbery of a fur warehouse — the red herring being an exploding garage. What is remarkable is that these first two of the five crimes described have actually happened — though after the story was written! Blake decides to interview the author and learns that he used to be in the Navy. With help from an agent named Charlie Sprake, Blake follows a trail of clues to another ex-serviceman, Ted Herring. Ted had read Peakall's manuscript and, after teaming up with fellow disgruntled veterans Bill Murdoch, Joe Bannester and Dandy Parks — and supported by his wife, Kitty — he had copied the crimes. Now, the gang is preparing for the third heist — the robbery of a diamond dealer. Blake discovers where the loot from the previous crimes is stored. He tricks Murdoch and Bannester into coming to Baker Street and reveals that he's onto their game. Meanwhile, Tinker and Sprake retrieve the stolen money and deliver it to the detective's consulting room. Confronted with this, both men resign themselves to their fate. However, Blake knows that at heart they are good men who have been treated unjustly by a country that seems ungrateful for their part in the war. He allows them to go free. He then sees to it that Herring, Kitty and Parks are all arrested on lesser charges — their responsibility for the thefts remaining secret. They all received fairly light sentences to, as Blake puts it, 'teach them a lesson'.
Trivia: Sexton Blake's address is given as 23a Baker Street.
Rating: ★★★★★


